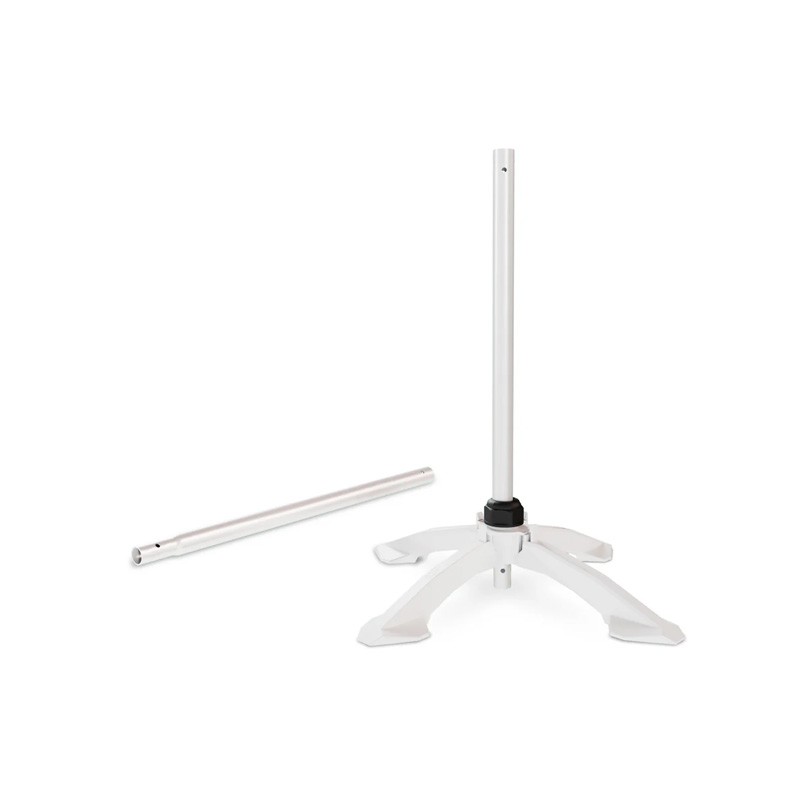


Optimize your grow space with the ThinkGrow TSD-1 vertical LED stand, specifically designed for the ICL-300 (Inner Canopy) luminaire.
This optional accessory makes it easy to install an ICL-300 within your grow area, ensuring more efficient light distribution.
To install a single ICL-300, two TSD-1 stands are required. Add one more stand for each additional ICL-300 unit.

Delivery next day in all stock products

Gifts in all your orders

C/Moianes 24 08014 Barcelona Spain
Installation Steps:
Step 1: Insert each of the 4 molded legs into the central mounting bracket. Ensure that all legs are securely installed and have "snapped" into place.
Step 2: Loosen the screw cap to create an opening, allowing the aluminum tube to pass through the screw cap at the top of the central mounting bracket. Make necessary adjustments and firmly tighten the screw cap. You can use one or two sections of aluminum tubes.
Step 3: Use the two collar mounts provided with each ICL-300 to securely fasten the ICL-300 onto the aluminum tubing. Start by loosening the screw cap on the adjustment knob, allowing the tubes to pass through the screw cap. Then, position both ends of the ICL-300 to the desired orientation/height and secure it in place by tightening the screw cap.
Step 4: To install the light bars, align the holes on both sides of the ICL-300 light bar with the aluminum tubes. Align the mounting bracket on the tube with the bracket on the ICL-300 to ensure a secure connection between the light bar and the tubes. Conduct a thorough inspection to ensure proper alignment and secure installation before proceeding.
Step 5: To validate the stability of the installation, double-check that all screw-nuts are tightened and that all ICL-300 brackets are aligned and joined correctly to the TSD-1. Then, gently push and shake the stand. If the stand remains steady without any notable movement, the installation can be considered successful and complete. Make adjustments or tighten hardware if the assembly seems loose or unstable.
The TSD-1 ThinkGrow LED Stand for ICL-300 (Single Unit) is not included in ICL-300 package contents. It is an optional accessory

Optimize your grow space with the ThinkGrow TSD-1 vertical LED stand, specifically designed for the ICL-300 (Inner Canopy) luminaire.
This optional accessory makes it easy to install an ICL-300 within your grow area, ensuring more efficient light distribution.
To install a single ICL-300, two TSD-1 stands are required. Add one more stand for each additional ICL-300 unit.